


 Cart


 <% cart_fragment.free_shipping_message %>free shipping


Hyderabadi Chicken Tikka Biryani Recipe – Easy Restaurant Style At Home

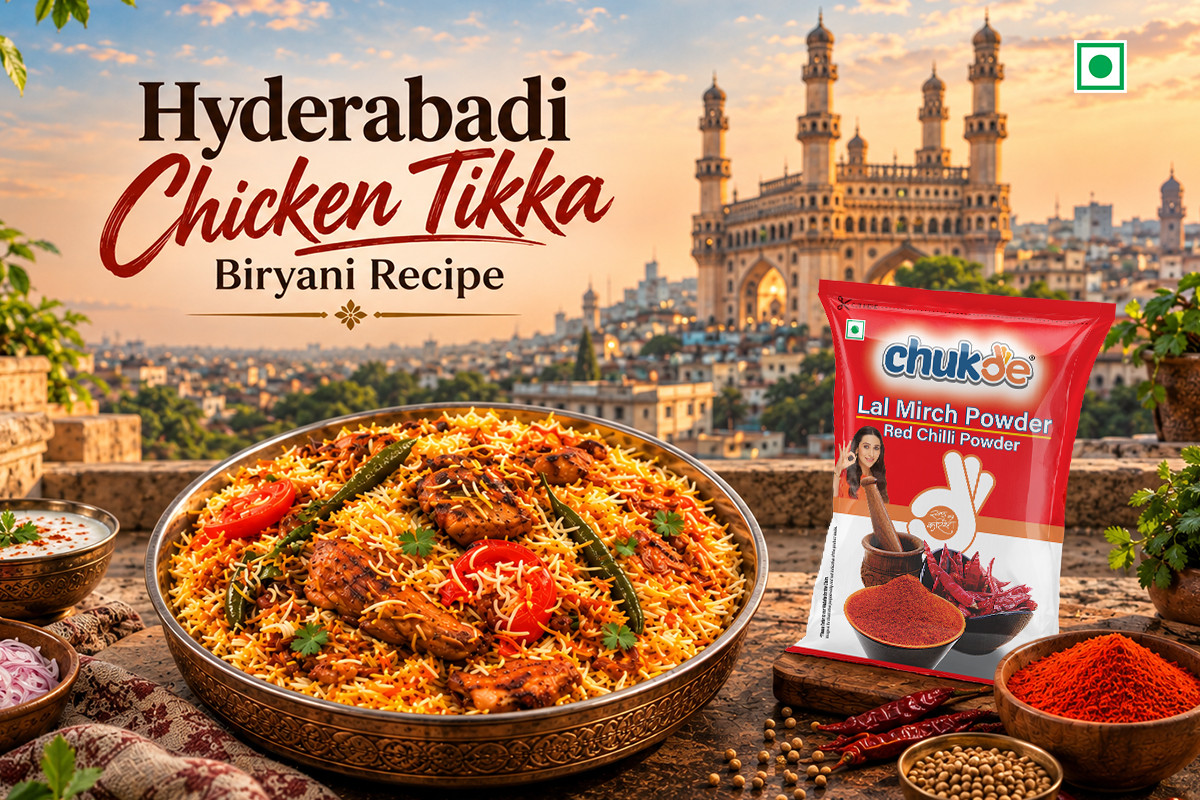
Many home cooks try chicken biryani and end up with dry chicken or sticky rice. The difference usually lies in two steps: grilling the tikka properly and giving the pot enough time. This recipe fixes both. You first marinate and grill the chicken, build a rich onion-tomato base, parboil aged basmati, then layer everything for a slow dum finish. The result is smoky chicken, separate grains and the classic Hyderabadi aroma that people expect from a good restaurant plate.
In my experience testing this method, grilling the chicken before layering makes a clear difference in texture. The pieces stay juicy and pick up a light char that plain marinated chicken rarely develops on the stovetop.
Ingredients
Chicken Tikka Marinade
- Chicken – 500 gm
- Thick Curd – ½ cup
- Ginger-Garlic Paste – 1 tbsp
- Chukde Cumin Powder – 1 tsp
- Chukde Black Pepper Powder – ½ tsp
- Chukde Garam Masala – 1 tsp
- Kashmiri Red Chilli Powder – 1 tsp
- Red Chilli Powder – ½ tsp
- Turmeric Powder – ¼ tsp
- Coriander Powder – 1 tsp
- Lemon Juice – 1 tbsp
- Salt – according to taste
- Mustard Oil – 2 tbsp
- Chukde Kasoori Methi – 1 tsp
For the Biryani
- Basmati Rice – 500 gm (soaked 30 minutes)
- Onions (sliced) – 3 large
- Tomatoes – 2 medium
- Green Chillies – 3–4
- Ginger-Garlic Paste – 1 tbsp
- Mint Leaves – ½ cup
- Fresh Coriander – ½ cup
- Whole Spices – bay leaf, cinnamon, cloves, green cardamom and black cardamom
- Biryani Masala – 1 tbsp
- Ghee – 2 tbsp
- Saffron Milk – 2 tbsp
- Fried Onions – ½ cup
- Salt – according to taste
- Oil – as required
For Dum Layering
- Extra fried onions
- Fresh mint and coriander
- Saffron milk
- Ghee
Step-by-Step Method
1. Marinate and Grill the Chicken
Mix thick curd, ginger-garlic paste, mustard oil, lemon juice, kasoori methi and all the listed powders. Coat the chicken pieces well. Rest for at least 1 hour (overnight in the fridge works best). Heat a pan or grill pan with a little oil. Cook the chicken on medium-high heat for about 10 minutes, turning once, until lightly charred and cooked through. Set aside. From practical kitchen observations, this step locks moisture and adds the smoky note that defines restaurant-style chicken biryani.
2. Prepare the Masala Base
In the same pan, heat oil and sauté half the sliced onions until golden. Add ginger-garlic paste and the whole spices. Stir for a minute. Add chopped tomatoes, salt, biryani masala and any leftover marinade. Cook until the tomatoes soften and oil begins to separate. Add half the grilled chicken, a handful of mint and coriander, and a small splash of water. Simmer briefly and switch off the heat.
3. Parboil the Rice
Bring 1.5 litres of water to a boil with salt, whole spices and a dash of oil. Add the soaked basmati and cook until 70–90% done. The grains should still have a slight bite. Drain immediately. Overcooking at this stage is the most common reason for mushy biryani. For better aroma in the water, you can use whole bay leaves and cinnamon sticks along with cloves and cardamom.
4. Layer and Dum Cook
Spread the chicken masala in a heavy-bottomed pot. Add an even layer of the parboiled rice. Top with fried onions, chopped mint, coriander, remaining chicken pieces, a drizzle of ghee and saffron milk. Seal the pot tightly with foil or a dough-sealed lid. Place the pot on a heated tawa and cook on low heat for 15 minutes. Switch off and rest for 10–15 minutes before opening. This step lets the flavours settle without drying the rice.
Practical Tips from Testing
- Use aged long-grain basmati for grains that stay separate.
- Do not open the pot during the first 15 minutes of dum.
- Keep the flame very low and use a thick tawa to avoid burning the bottom.
- Bone-in chicken works if you increase grilling and dum time by a few minutes.
What to Serve With This Chicken Biryani
Pair it with simple cucumber raita, onion salad or a light salan. The cooling sides balance the spices and complete the meal.
Common Mistakes to Avoid
- Skipping the grilling step and putting raw marinated chicken directly into the pot.
- Cooking the rice past 90% before layering.
- Adding too much water to the masala, which makes the final rice wet.
- Opening the pot too early during dum.
Final Notes
This method takes about 90 minutes of active work plus marination and serves four people comfortably. Once the layering becomes familiar, you can scale it for guests without stress. The combination of smoky chicken tikka, aromatic basmati and proper Hyderabadi dum creates a plate that feels special yet stays practical for home cooking. For consistent results, keep your spice box stocked with fresh ground spices and whole spices from trusted sources.
For more on spice quality and storage practices, you can refer to guidelines from the Spices Board of India and general rice cooking principles shared by Serious Eats.
Frequently Asked Questions
Can I use bone-in chicken for this recipe?
Yes. Increase grilling time slightly and extend the dum by 5–7 minutes so the meat cooks through.
Why does my rice turn mushy?
The rice was cooked past 90% before layering. Drain earlier and keep the dum flame low.
How long should I marinate the chicken?
Minimum one hour. Overnight in the fridge gives better flavour and tenderness.
Can I cook this in the oven?
Yes. Seal the pot and bake at 180°C for 25–30 minutes, then rest before serving.
Related articles
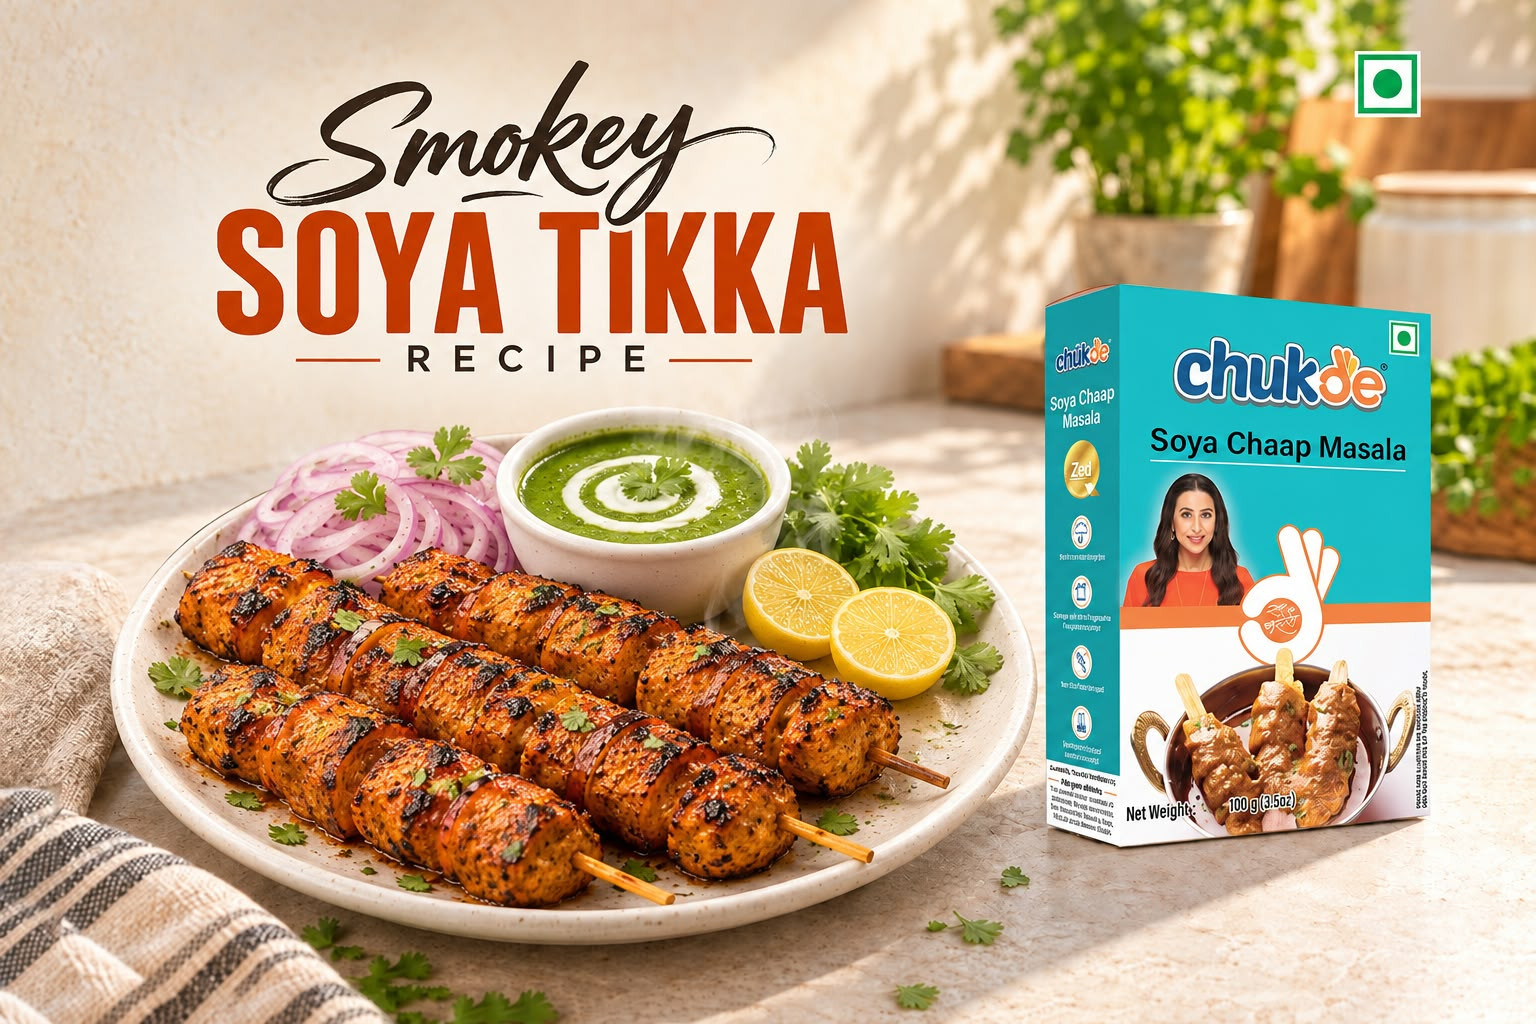
Make smoky soya chaap tikka at home with a creamy curd marinade, aromatic spices and charcoal dhungar. Try this easy restaurant-style starter recipe.
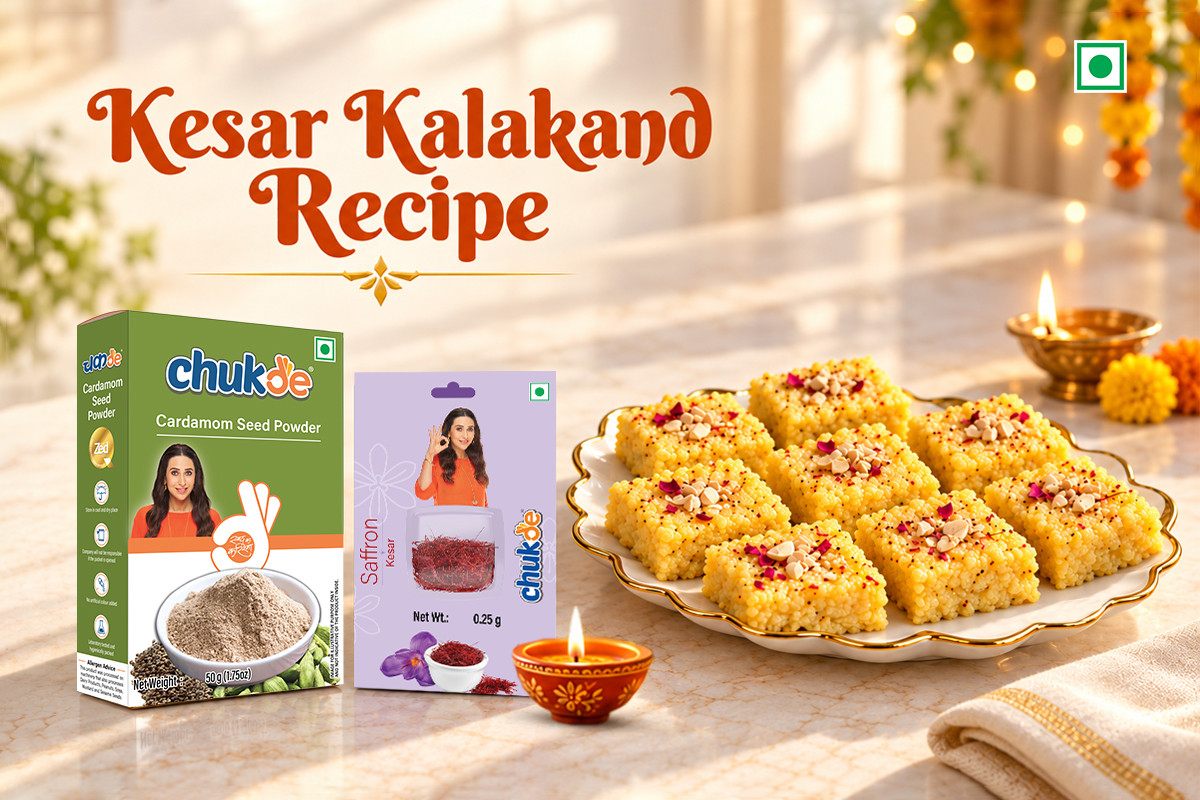
Make soft, grainy kesar kalakand at home with paneer, condensed milk, saffron and cardamom. Try this easy milk cake recipe for festive celebrations.

Try 10 easy homemade Diwali sweets, from besan ladoo to kaju katli. Add Chukde Green Elaichi and Kesar for festive flavour and aroma.
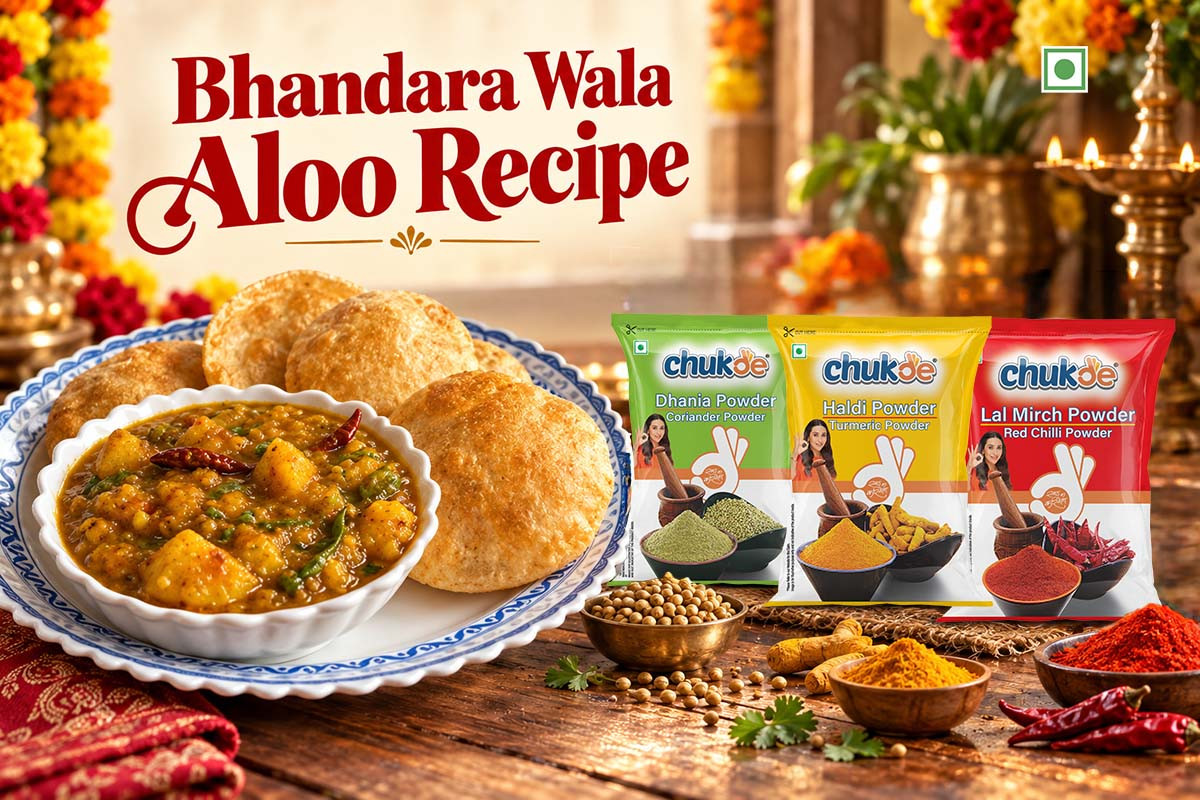
Make Bhandara Wala Aloo at home with hand-crushed potatoes, tomatoes and aromatic whole spices. Try this easy no-onion, no-garlic recipe with poori.
<% quickViewcurrVar.entity.title %> (<% quickViewcurrVar.price.off %>)
<% formatCurr(quickViewcurrVar.price.regular, quickViewcurrVar.price.curr_info) %> <% formatCurr(quickViewcurrVar.price.sale, quickViewcurrVar.price.curr_info) %> (Inc. tax) (Ex. tax)
Description (SKU - <% quickViewcurrVar.sku %>)
 TBS points:
Tags & Categories:

Powered by Science

100% cruelty free

Made in India
 100% safe
checkout

Invalid Product!


Checkout in
& get 2% OFF